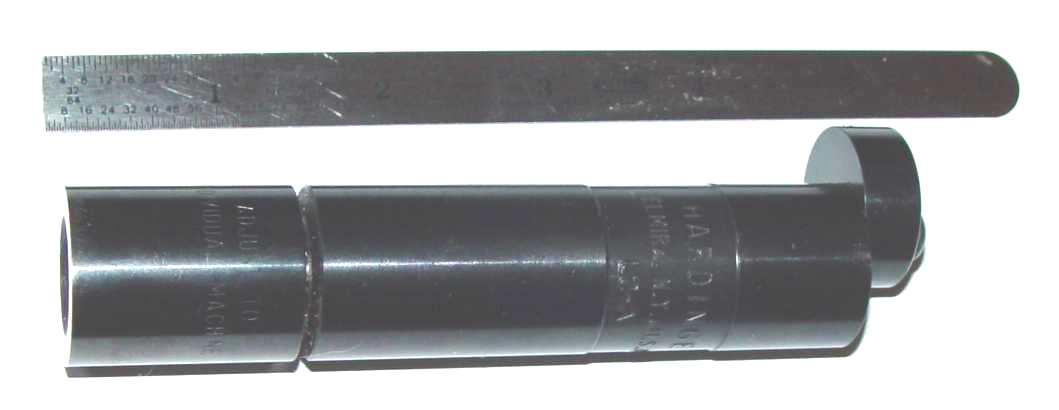
 Figure 1 - Hardinge L-2A tool
I expanded a portion of the instruction sheet provided by Hardinge to provide more alternatives for calibrating and using this tool. See below:
HLV-H AND TFB-H LATHE TOOLING
Method 1:
Place a spindle gauge in a precision collet as shown in Figure 2. [A precision collet is probably overkill - a good unabused collet will get you close enough for normal work.]
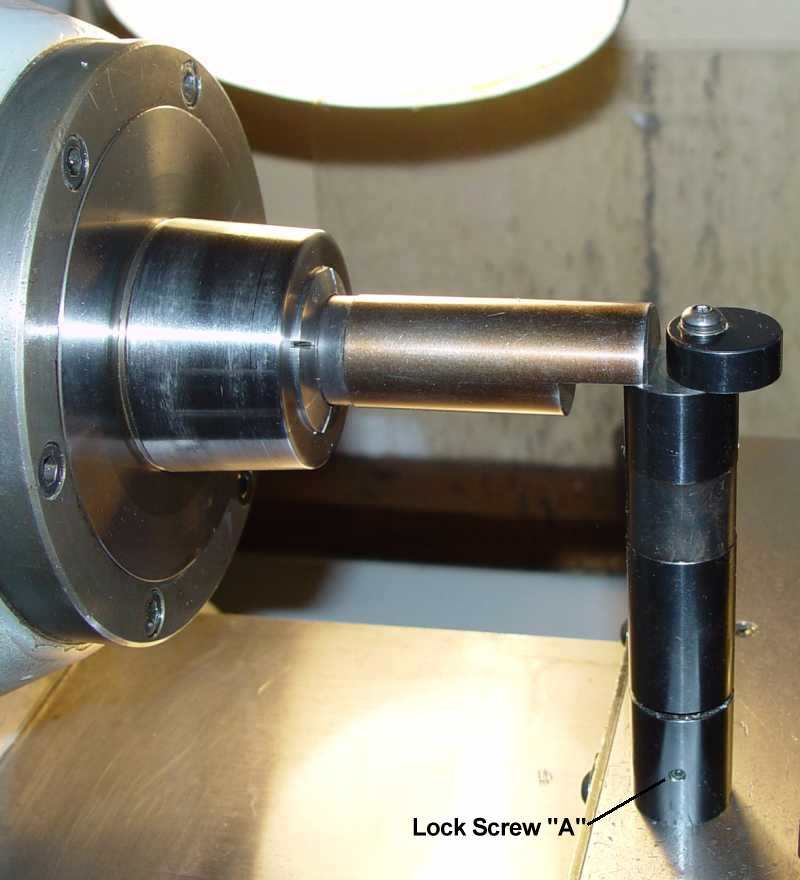
Figure 2
Loosen lock screw "A", Figure 2.
Position the gauge on the carriage as shown in Figure 2. THE CARRIAGE AND GAUGE
MUST BE CLEAN.
Adjust the base of the gauge, while holding the remainder of the gauge stationary,
until contact is made between the underside of the gauge swivel section and the
top edge of the spindle gauge.
Tighten lock screw "A", Figure 2, to retain the gauge setting and mark the gauge
with the machine serial number to avoid repeating the adjustment steps in future.
Method 2:
Take a trial cut on the face of approximately 1" diameter stock, adjusting the
cutting tool height carefully to determine the exact spindle centerline. Make sure the
cutting edge is located over some point on the lower part of the carriage! Do not change
the height of the tool until calibration is complete.
Loosen lock screw "A", Figure 2.
Position the gauge on the carriage as shown in Figure 3. THE CARRIAGE AND GAUGE
MUST BE CLEAN.
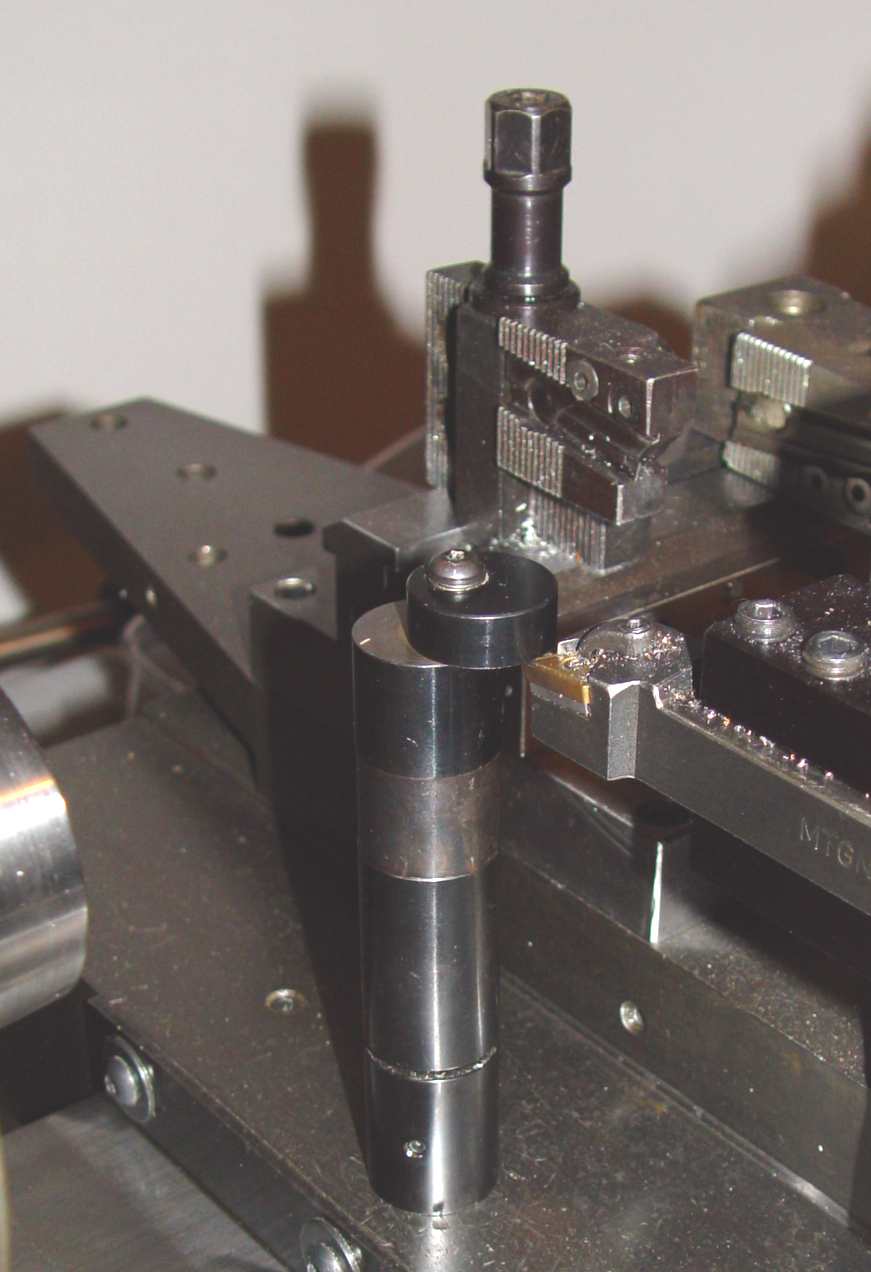
Figure 3
Adjust the base of the gauge, while holding the remainder of the gauge stationary,
until contact is made between the underside of the gauge swivel section and the
cutting edge of the tool bit.
Tighten lock screw "A", Figure 2, to retain the gauge setting and mark the gauge
with the machine serial number to avoid repeating the adjustment steps in future.
WITH THE L-2A GAUGE
Position the tool setting gauge on the carriage with the gauge swivel section over
the cutting edge of the tool bit. When using the standard Hardinge tool post, adjust the tapered gib
until the edge of the tool bit contacts the underside of the gage swivel as shown in Figure 3.
When using other types of tool posts, employ the tool height adjustment methods designed by the tool holder
manufacturer. For example, the Aloris tool post has a large knurled nut to raise and lower the tool holder.