C-29 Rebuild
The comparative rarity of the C-29 transmitter control box for the ARC-5 set tends to make more extreme
efforts at recovering a 'dog' more worthwhile. This Stromberg-Carlson unit had no significant corrosion of
the raised lettering, so a complete strip and repaint seemed like a reasonable thing to do. Note that this
is possible only with the S-C (CCT) units, which used a photographic etching process to produce raised lettering
like some models of the BC-348. The ARC (CBY) units have engraved lettering that must be media blasted and
filled with aluminum paint and re-engraved for any complete repainting - a more difficult and time consuming
process. Here's a step by step view of the refurbishment (very much a work in progress - completion is
scheduled for 2015...)
The first order of business is to remove the components. Below is the
tool that ARC used to install and remove those pesky
connector rings, but there are a number of other ways to do it. Some form of collet is best if you can
find one that large, but in a pinch a large pair of visegrips with curved jaws can be used. Note that the latter
may reduce the chances of getting the ring off without damage to the knurling, but sometime you have no choice.
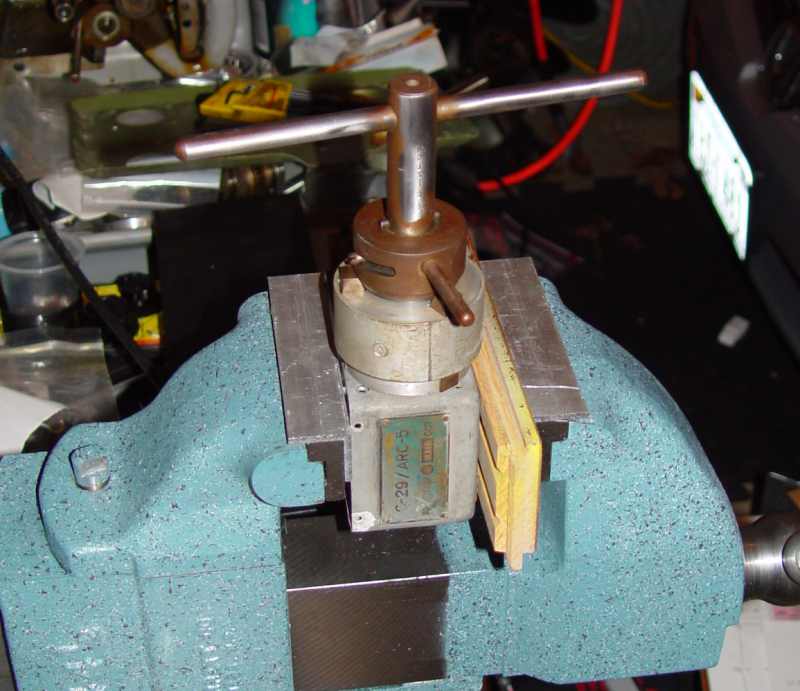 Removing the connector retaining ring
The next step is to drill out the rivets holding the three remaining parts - the tags and safety wire
post for the on-off switch. It is actually better to drill (or grind) from the back of these tubular
rivets if the geometry of the box makes that feasible, then knock out the rivet with small pin punch.
That way you can re-use the rivet with some epoxy if you have no other source of replacement rivets.
I use an anvil of scrap nylon with a hole the size of the rivet head whenever I do it this way to avoid
distorting the panel. In this case I wasn't trying to save the rivet, so I went at it from the front.
Centering the drill can be done in a couple of different ways if you are coming from the front side...the centering
scope shown here was used only because it was at hand and permits very rapid centering.
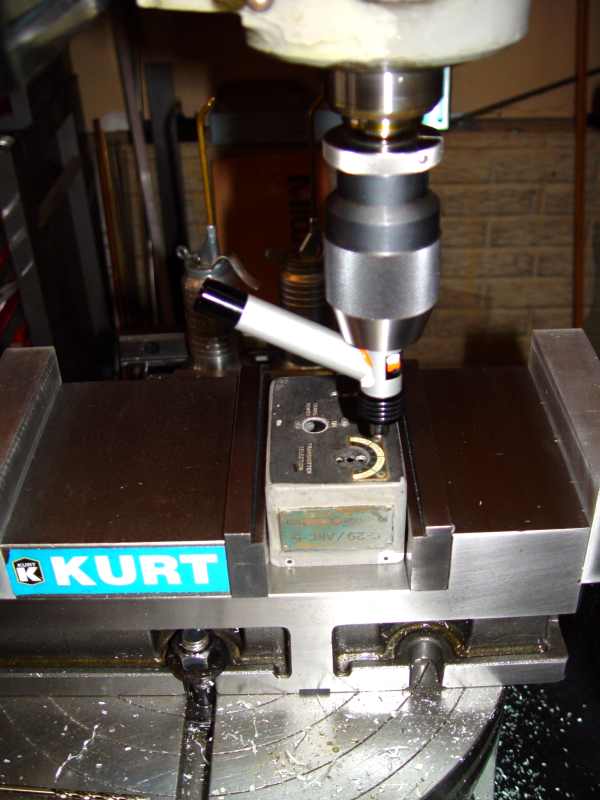 Centering the chuck on a rivet head
With a small #1 center drill like the one below, it is actually possible, with care, to use a variable
speed hand drill to start the drilling. A drill press or mill makes it a lot easier, though. Another
good suggestion by VK2GCE is to use a printed circuit board drill, which has a simlar fat shank to increase its rigidity. Either
of those bits can be followed up with a drill the size of the rivet shank. If you are drilling from the back of the
rivet, then a drill about the size of the upset area is about right. You want only to reach the level
of the back of the panel, enough to eliminate the curled over portion of the rivet. Be advised that
there are several potential problems you can run into:
1) the upset portion may break into several pieces while drilling, throwing off the center of the drill.
A small Dremel type tool may prove useful to finish up in that case, and
2) the rivet may begin to spin long before you shave off the upset portion. The Dremel is certainly
one solution there, too. The only reason for not using it to do the entire job might be the steady
hand it requires for such fine work ("oops" is an occasional utterance when I perform such activities),
and the fact that it is not a particularly good tool for hogging out larger quantities of metal.
Of course, working on the backside of the panel makes these drawbacks less of a concern. YMMV...
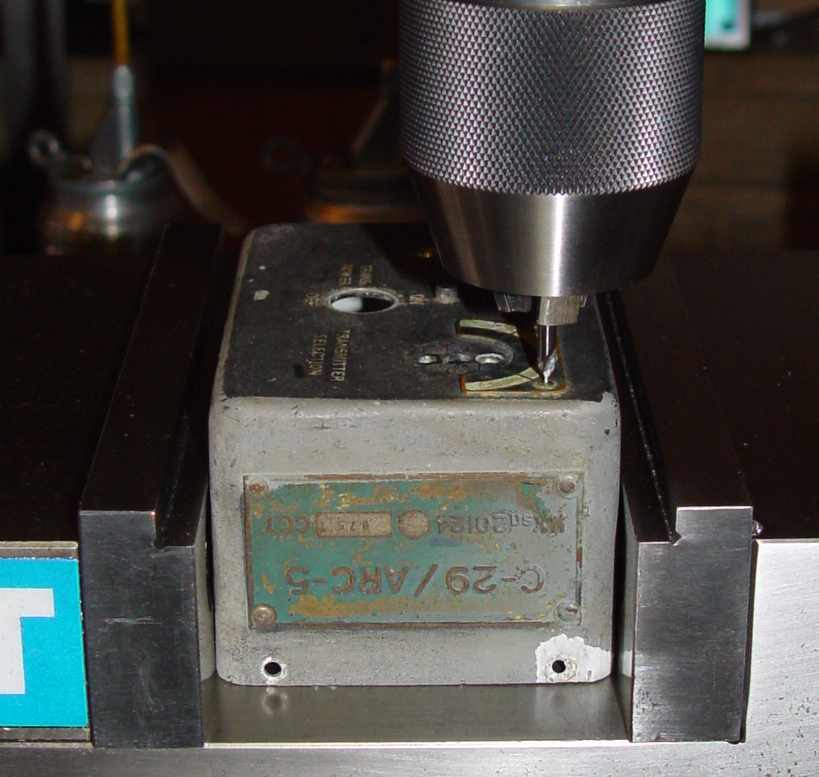 Drilling out the rivet with a center drill
With the components off, it's time to sand and repaint the box. Over a period of twenty+ years, I have become
convinced that complete removal of the old paint may not be necessary, depending on its condition. If it still
has good adhesion, then I normally leave it on, simply wet-sanding it and making sure any bare spots are feathered
into the paint film. The one exception to this rule is exemplified by this C-29 - but only because it has the raised lettering
mentioned above. The paint film thickness required of wrinkle paint is greater than that of normal paint, and
leaving the old paint on causes problems in the careful removal of the new wrinkle paint over the lettering. A very light
coat of zinc chromate is all that is necessary prior to spraying the two requisite coats of wrinkle. The C-29 is one of those
multiplanar configurations that require a rotating fixture to slowly turn the control box with its front face held vertical while painting and curing.
The reason for that is that the film thickness required
for a good wrinkle also promotes running and sagging if you try to paint a vertical surface. The solution is a steady rotation at about 5-10 rpm
during the painting process and continuing through the wrinkling phase. I normally run the motor about thirty minutes after spraying,
and that works fine.
To be continued as the situation permits...
Return to Garaj Mahal